
Jump to Recipe
Grilled halloumi burgers use thick slabs of pan-grilled halloumi instead of a meat patty, stacked on a toasted bun with garlic mayo and a fresh tomato relish. No grinding meat, no forming patties, just cheese, a hot pan, and a few minutes.
The halloumi turns golden and slightly charred on the outside while staying soft inside. It’s salty on its own, so the sweet-sharp tomato relish balances it out instead of fighting it.
This is a good one for a weeknight when you want something that feels like a real burger but comes together in under 40 minutes. I make the relish first and let it sit while the pan heats up, so the flavors have time to blend.
One thing to watch: halloumi firms up fast once it cools, so grill it right before you plan to eat and don’t let the burgers sit around on the counter.
Why You’ll Love This Recipe
- Ready in under 40 minutes with no meat to grind or shape
- Halloumi holds its shape on the grill, so it’s hard to mess up
- Tomato relish uses ingredients you likely already have
- Works as a meat-free main that still feels like a real burger
Ingredient Notes
- Halloumi: Buy the block, not pre-sliced. It’s salty on its own, so taste the relish before adding extra salt to the burger.
- Tomatoes: Use ripe, in-season tomatoes if you can. Cherry tomatoes, halved, work too and hold their shape a bit better.
- Burger buns: Brioche or potato buns hold up well once toasted. Swap for gluten-free buns to make the whole burger gluten free.
- Mayonnaise: Plain mayo works fine mixed with grated garlic. Swap in Greek yogurt if you want something lighter and a bit sharper.
- Arugula: Adds a peppery bite that cuts through the richness of the halloumi. Baby spinach or shredded lettuce work as a milder swap.
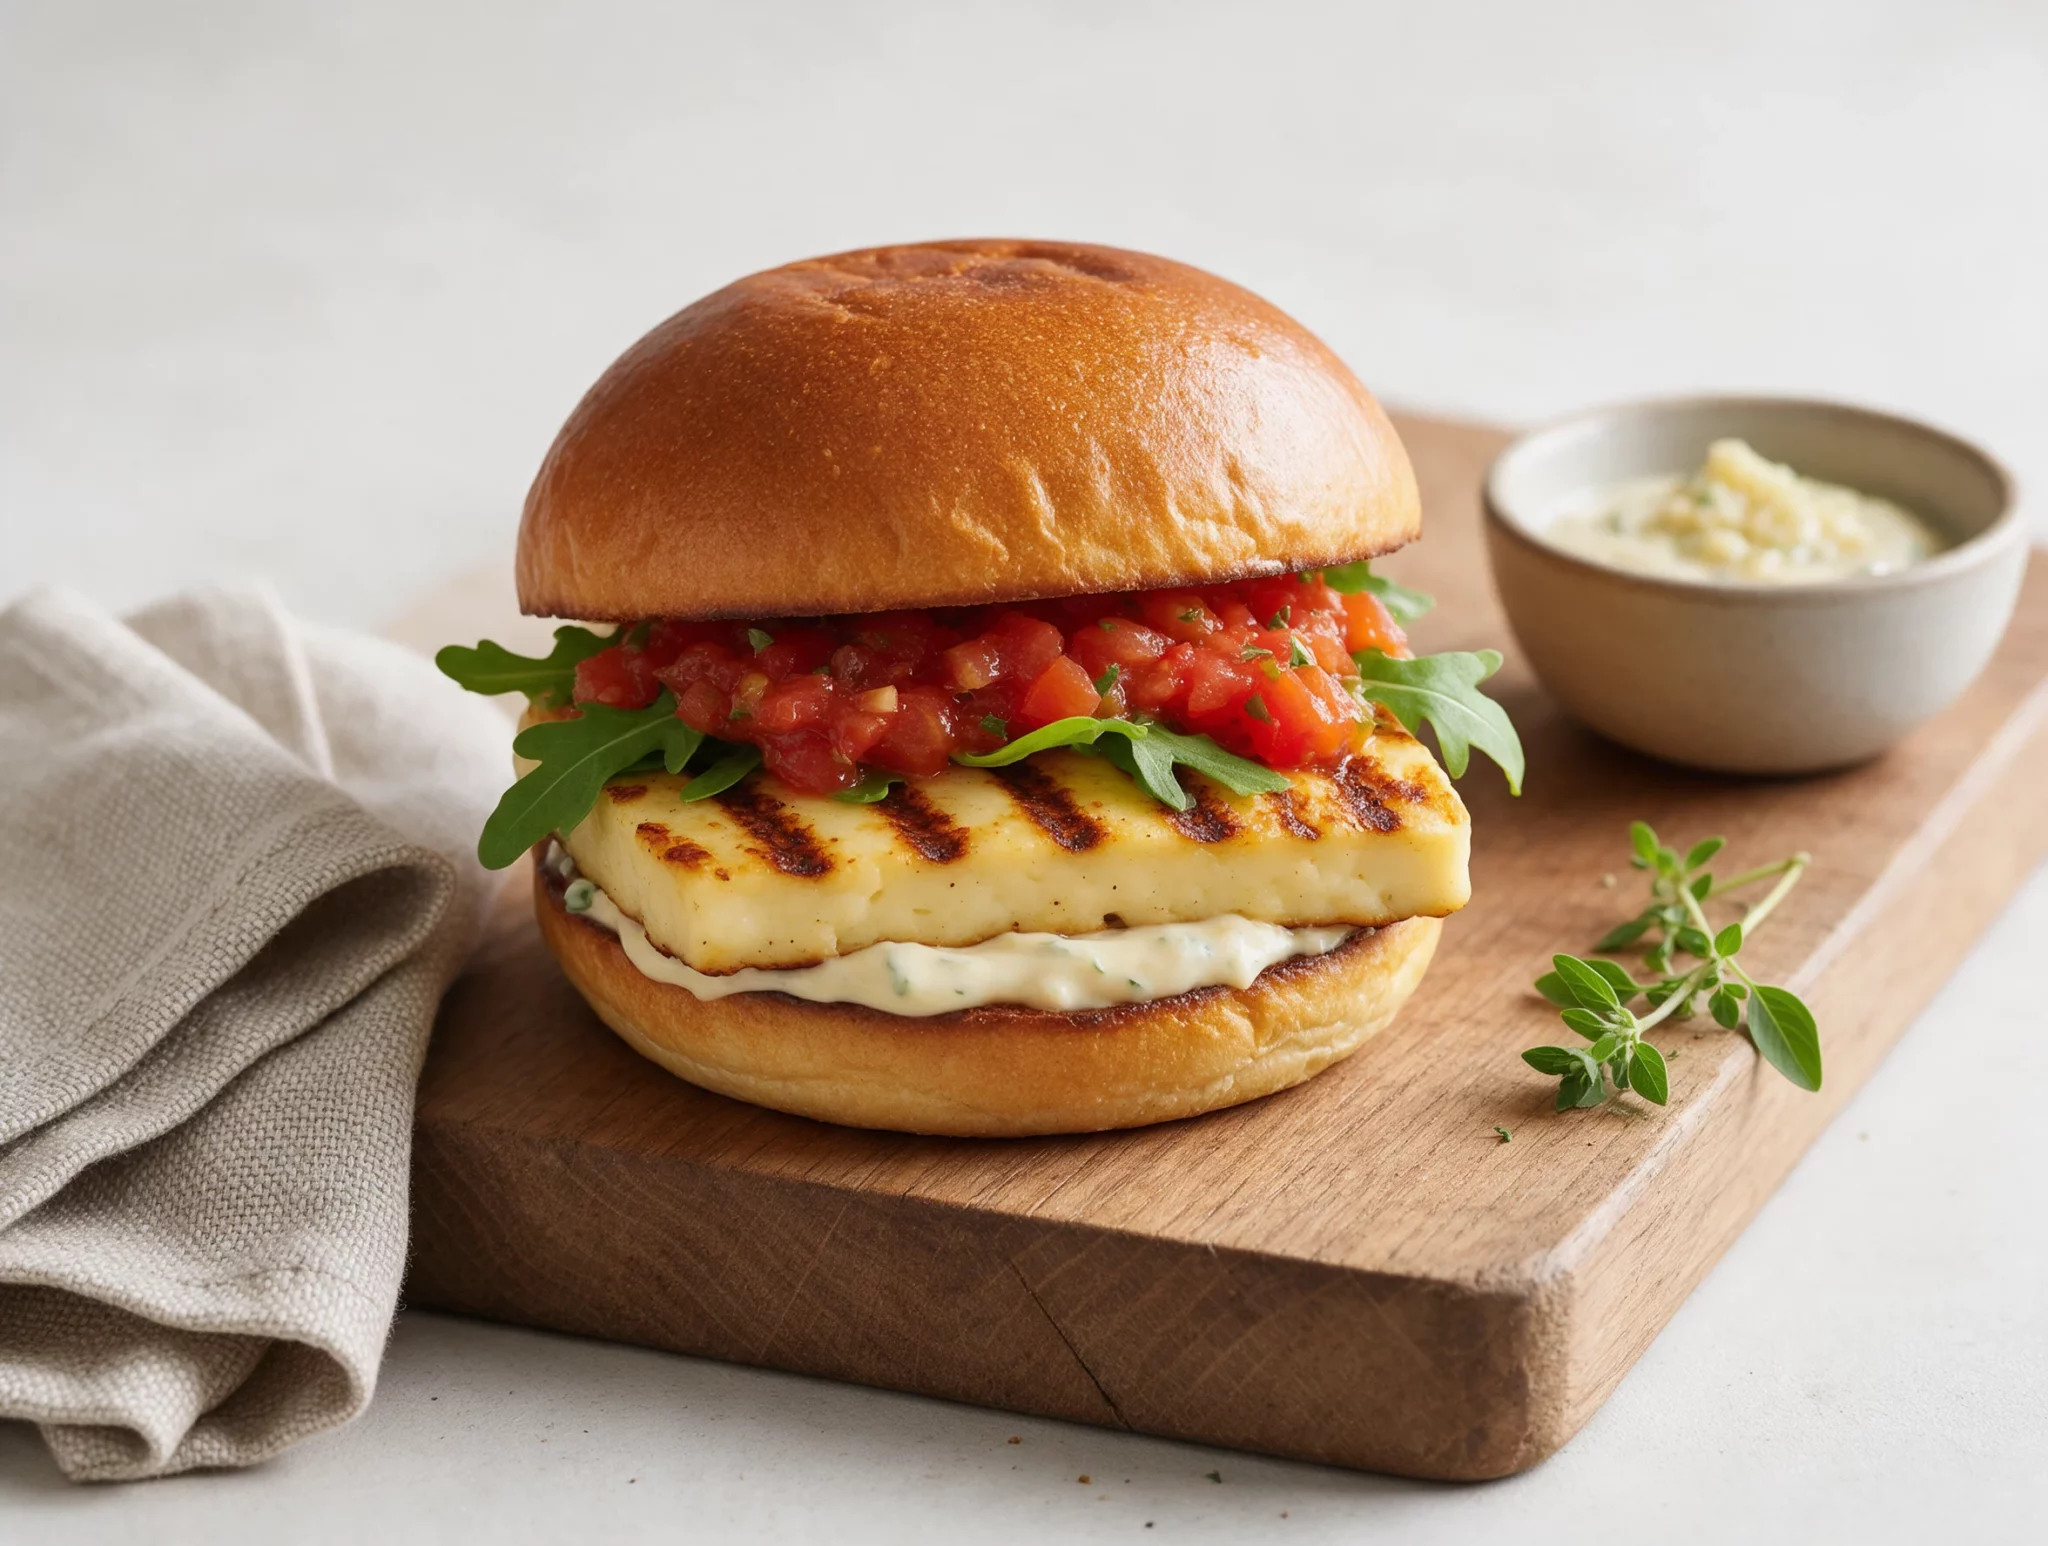
Easy Grilled Halloumi Burgers with Fresh Tomato Relish
Ingredients
Method
- In a mixing bowl, combine the diced tomatoes, red onion, olive oil, vinegar, honey, basil, salt, and pepper. Stir well and let it sit at room temperature for 15 minutes while you prep the burgers.
- Slice each halloumi block in half lengthwise to make 4 slabs, about 1 cm / 0.4 inch thick. Pat both sides dry with a paper towel.
- Brush both sides of the halloumi slabs with the 1 tablespoon of olive oil.
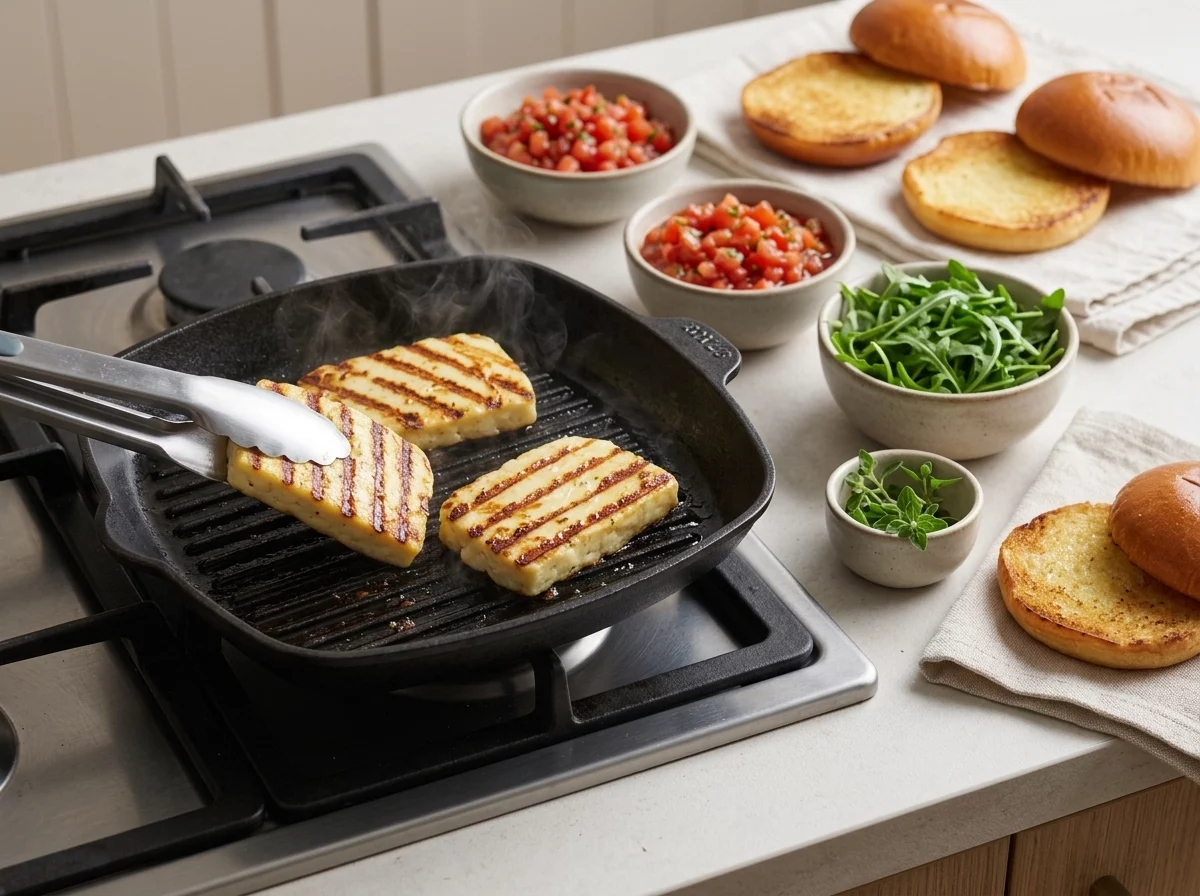
- Heat the grill pan over medium-high, about 200 C / 400 F, for 2 minutes until it's hot.
- Lay the halloumi slabs on the pan and don't move them for 2 to 3 minutes, until deep golden grill marks form. Flip and grill the other side for 2 minutes, until golden and slightly softened but still holding its shape.
- Transfer the halloumi to a plate. Butter the cut sides of the buns and toast them cut-side down in the same pan for 1 to 2 minutes, until golden.
- In a small bowl, mix the grated garlic into the mayonnaise.
- Spread the garlic mayo on the bottom half of each bun. Top with arugula, a halloumi slab, and a spoonful of tomato relish, then close with the top bun.
- Serve right away while the halloumi is still warm and soft.
Notes
- Slice halloumi into slabs about 1 cm thick so they hold up on the grill without falling apart
- Let the relish sit at room temperature for 15 minutes before assembling the burgers
- Grill halloumi right before serving, it firms up once it cools
- Toast the buns in the same pan for extra flavor and less cleanup
Tips for Success
- Pat the halloumi slabs dry before grilling so they get real grill marks instead of steaming in the pan.
- Let the tomato relish sit for at least 15 minutes so the onion softens and the flavors blend together.
- Don’t move the halloumi for the first 2 minutes or it will tear when you try to flip it.
- Toast the buns in the same pan right after the halloumi for extra flavor and one less pan to wash.
- Taste the relish before salting the finished burger, halloumi is already salty on its own.
Variations
- Swap the tomato relish for a quick corn and jalapeno salsa if you want a smokier, spicier bite.
- Use basil pesto instead of garlic mayo for a sharper, herby spread on the buns.
- Add a fried egg on top of the halloumi for a heartier, brunch-style version of this burger.
Storage and Reheating
Grilled halloumi is best eaten right away. Once it cools, it firms up and loses the soft, slightly squeaky center that makes it good, and reheating brings back a rubbery texture instead of that fresh-off-the-pan bite.
Make the tomato relish ahead of time instead. It keeps in a sealed container in the fridge for 3 to 4 days and actually tastes better after a day, once the flavors settle.
When you’re ready to eat, grill the halloumi fresh, toast the buns, and assemble the burgers right before serving.
Serving Suggestions
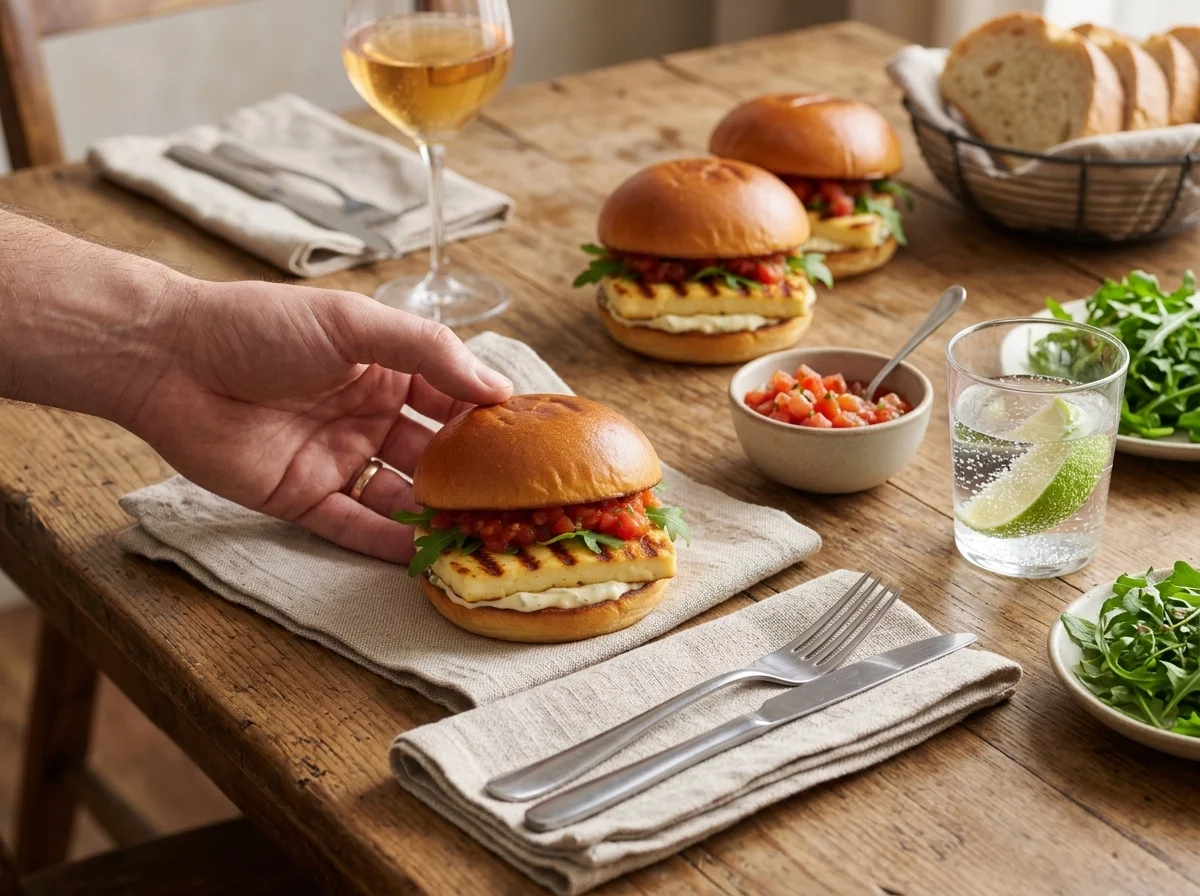
Serve these halloumi burgers with a side of crispy fries or thick-cut potato wedges. A simple green salad with lemon dressing works too if you want something lighter on the plate.
Pickles or pickled red onion on the side add a sharp contrast to the salty cheese. A cold glass of sparkling water with lime or a light lager pairs well if you’re serving these for a casual dinner.
For a bigger spread, add a bowl of olives and some grilled corn on the cob alongside the burgers.
FAQ
Why is my grilled halloumi rubbery instead of soft?
Halloumi turns rubbery when it cooks too long or sits too long after grilling and cools down. Grill it just until golden grill marks form, about 2 to 3 minutes per side, and serve the burger right away while the cheese is still warm and soft in the center.
Can I use feta instead of halloumi for these burgers?
No, feta won’t work here since it crumbles and falls apart on a hot grill pan instead of holding a slab shape. Halloumi has a higher melting point and firmer texture, which is why it grills into a burger patty instead of turning into a mess.
Can I make the tomato relish ahead of time for these halloumi burgers?
Yes, the tomato relish keeps well in a sealed container in the fridge for 3 to 4 days and actually tastes better after a day. Just grill the halloumi fresh right before serving, since it doesn’t hold up well once it cools and reheats.
What goes well with grilled halloumi burgers besides fries?
A simple green salad with lemon dressing or grilled corn on the cob both work well alongside these burgers. Pickles or pickled red onion on the side add a sharp bite that cuts through the salty cheese and rich garlic mayo.
Are grilled halloumi burgers gluten free?
Not as written, since the recipe uses regular burger buns. Swap in a gluten-free bun and double check your mayonnaise label, and the rest of the recipe, halloumi, tomatoes, olive oil, and basil, is naturally gluten free.
What’s the difference between grilled halloumi burgers and a regular veggie burger?
A veggie burger uses a formed patty made from beans, grains, or vegetables, while this burger uses a slab of grilled halloumi cheese as the main filling instead. It’s simpler to make since there’s no mixing or shaping, just slicing and grilling.